
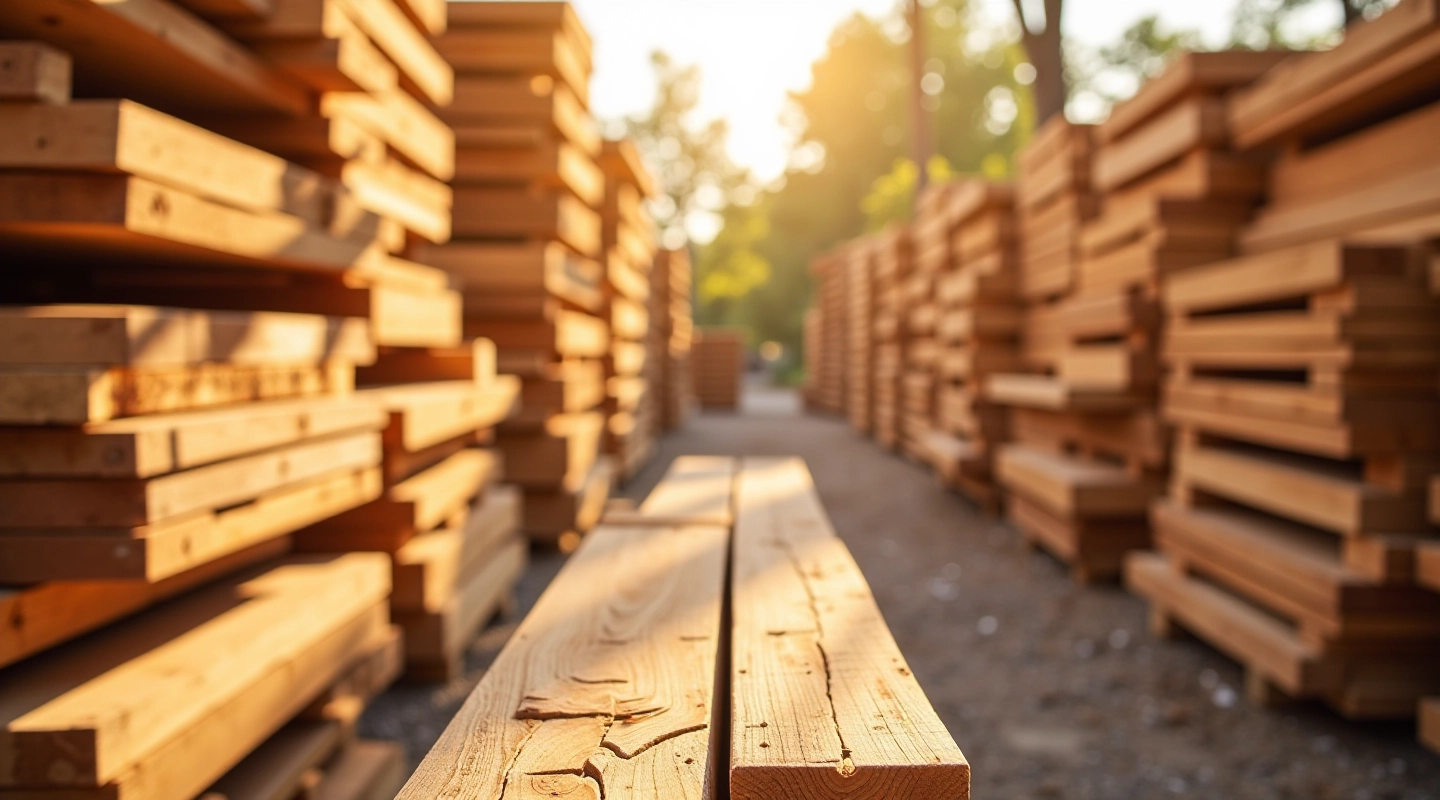
Choosing the Right Wood for Your Deck
Learn the differences between pressure-treated, cedar, and composite materials. We explain durability, maintenance, and cost considerations for each option.
Read GuideFrom foundation to finishing touches. We cover framing, joist spacing, fastening techniques, and common mistakes to avoid when building your first deck.
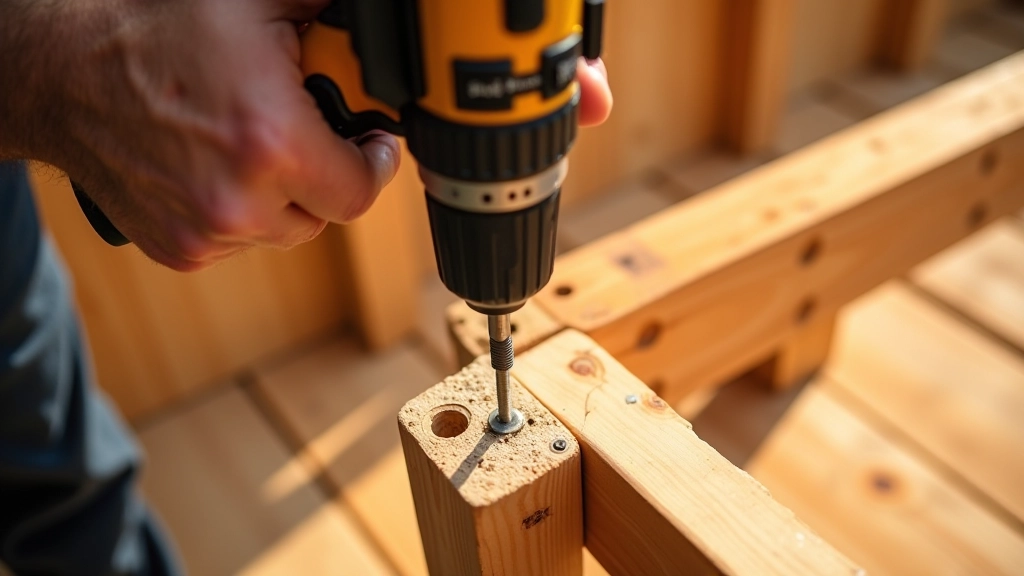
Building a deck isn't just about arranging boards on the ground. A well-constructed deck stands for 15-20 years without major repairs. A poorly built one becomes dangerous and expensive to fix.
We're breaking down the process into manageable steps. You'll learn what separates amateur work from solid construction — the details that actually matter. Think of this as a conversation with someone who's watched decks go up the right way and the wrong way.
Posts on concrete, not dirt. This single decision affects everything that comes next.
Joists at 16 inches on center isn't arbitrary. It's physics and building codes combined.
Galvanized, stainless, or coated screws last. Regular fasteners rust and fail in months.
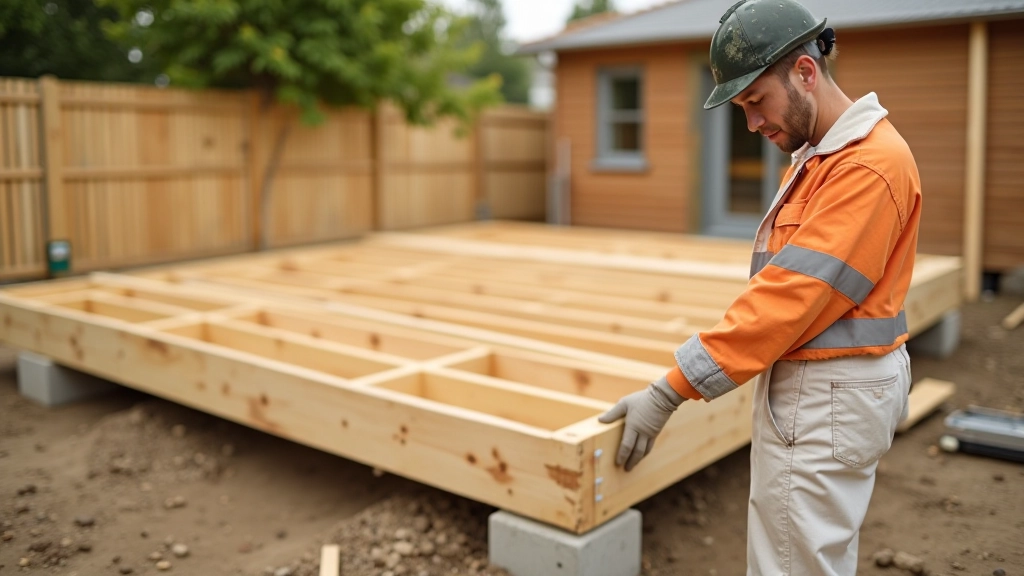
Your frame is where the real work happens. It's not glamorous — nobody sees it once the decking goes on — but it's everything.
Start with the ledger board. This bolts to your house and carries about half the deck's weight. Don't skip this connection. Use lag bolts, not nails. Space them 16 inches apart. You'll also want flashing — that metal piece that keeps water from getting behind the ledger and rotting your house.
Next comes the rim joist, which runs perpendicular to your house and ties everything together. The main support comes from beams, which sit on posts. Those posts? They need concrete footings below the frost line in your area. In Vilnius, that's roughly 80 centimeters down. Your posts won't shift if they're anchored properly. Frost heave — where the ground freezes and pushes everything up — will wreck a deck faster than you'd expect.
Joists run perpendicular to the beams and carry the actual decking boards. Spacing matters here. Standard spacing is 16 inches on center for 5/4 boards or 12 inches for thinner material. Too much spacing and your deck bounces. Too little and you're wasting money and making the job harder than it needs to be.

Using the right fasteners is non-negotiable. Pressure-treated wood will corrode regular steel fasteners in about a year. You'll end up with rust stains, weakened connections, and potential safety problems.
Three types work well: galvanized (hot-dipped is better than electroplated), stainless steel, or coated screws. For most decks, 3-inch deck screws work great for connecting joists to beams. Use 2.5-inch screws for decking boards. The rule is simple — the fastener needs to go through both pieces with room to spare.
How many fasteners? Two screws per joist-to-beam connection is minimum. Three is better if you want to sleep soundly. For decking boards, two fasteners per joist (one on each side of the board). Spacing them out distributes the load and prevents splitting.
Pro tip: pre-drill holes in hardwoods like cedar. It takes an extra minute per board but prevents splitting and makes installation easier. You're also less likely to strip the screw head, which is annoying when it happens halfway through a 30-board deck.
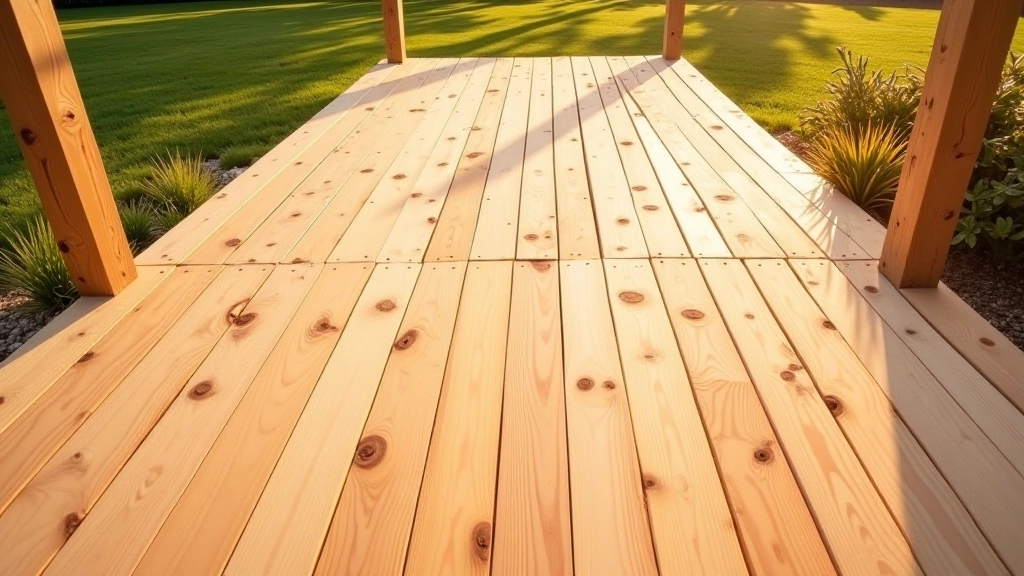
Once the frame is solid, the decking is the visible payoff. This is where you see the deck take shape. Boards need to be straight, properly spaced, and aligned. It's tedious work but absolutely worth doing right.
Leave a small gap between boards — about 1/4 inch. This allows for moisture expansion and drainage. Without gaps, water sits on the boards and accelerates rot. With proper spacing, water runs through. You can use a small spacer — even a drywall scrap works — to keep spacing consistent.
Start at the house or the most visible edge. Work your way out, checking for straightness as you go. A warped board will throw off everything after it. Better to replace one board early than to fight alignment on board 20.
Stagger your joints. Don't let board ends line up across multiple rows. This distributes the load more evenly and looks better too. And remember those fasteners we talked about? Now's when they matter. Two per joist, consistent, no shortcuts.
Water gets behind the ledger, soaks into your house's rim joist, and you're looking at expensive rot repair. Flashing takes 20 minutes and saves thousands.
Wood rots when it touches dirt. Concrete footings keep posts dry and prevent frost heave from pushing your deck around each winter.
Nails back out as wood moves. Screws stay put. You'll spend less time on repairs if you use screws from the start.
Spacing of 12 or 16 inches exists for a reason. Random spacing causes uneven support and creates weak points.
Boards expand and contract with moisture. No gaps means they'll cup, warp, or buckle. Leave that 1/4 inch space.
Galvanized, stainless, or coated fasteners only. Anything else rusts and weakens the connections that hold everything together.
Every deck project is different. Your site conditions, local building codes, weather patterns, and material choices all affect the final result. Individual learning outcomes and project success depend on careful planning, local code compliance, and proper execution. Check your local building department for specific requirements before you start.
A typical 12x16 foot deck takes 3-5 days for an experienced builder. First-timers should budget more time. Don't rush — mistakes cost more than extra days ever will.
Mark posts, dig holes below frost line, set concrete footings. This is the slowest part but absolutely critical.
Install ledger with flashing, set posts, install beams, install rim joist and joists. Frame is complete and level.
Lay boards, maintain spacing, secure with screws. This is where the deck actually looks like a deck.
Sand rough spots, install railings or stairs if needed, clean up. Your deck is ready to use.
You've got the roadmap now. A solid foundation, properly spaced joists, quality fasteners, and careful decking installation. That's the difference between a deck that falls apart in five years and one that'll still be solid in 20.
The details matter. Flashing, spacing, fastener type — these aren't optional extras. They're what separate amateur work from something you'll be proud to show friends. Don't cut corners. Your future self will thank you.

Editorial Team
Written by the drexoholm Editorial Team, focused on practical, transparent guidance for DIY wooden deck building.
Explore more deck building topics to complete your knowledge.
Learn the differences between pressure-treated, cedar, and composite materials. We explain durability, maintenance, and cost considerations for each option.
Read Guide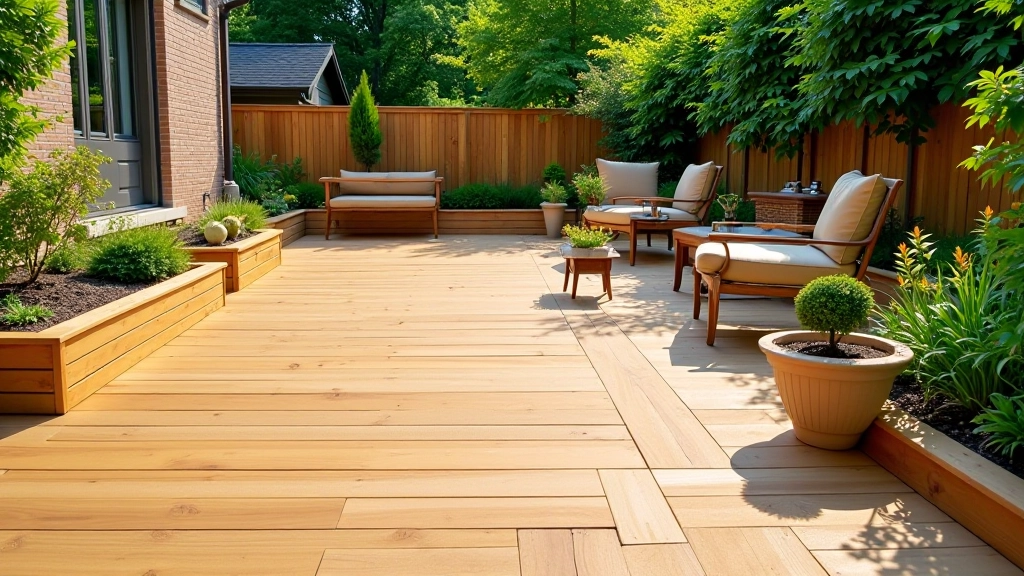
Protect your investment with proper sealing. We explain the differences between stains, sealers, and finishes, plus timing and application techniques.
Read Guide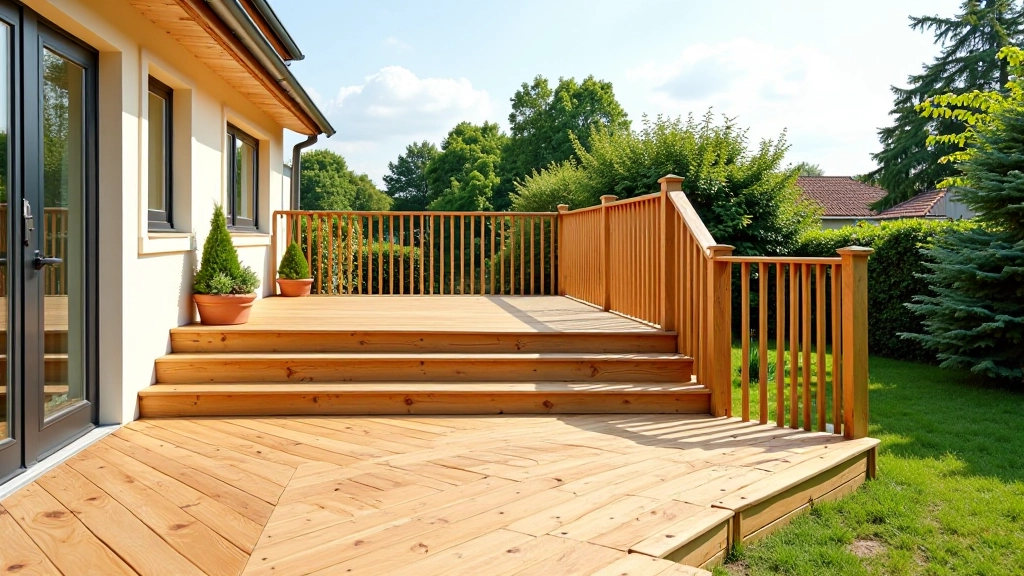
Plan your deck layout with purpose. We cover safety codes for railings and stairs, plus design considerations that work for different spaces and budgets.
Read Guide