
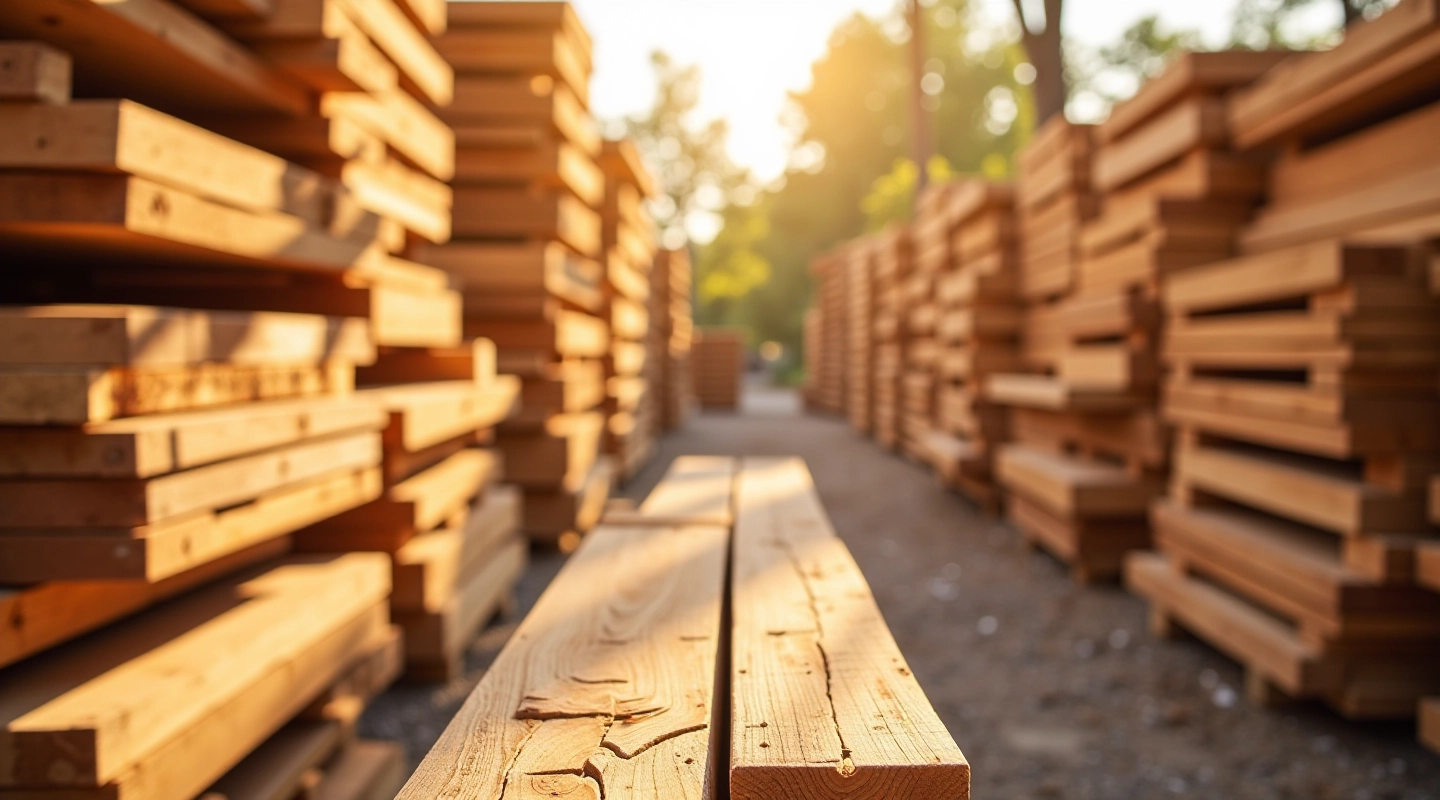
Choosing the Right Wood for Your Deck
Learn the differences between pressure-treated, cedar, and composite materials. We cover durability, cost, and appearance for every budget.
Protect your investment with proper sealing. We explain the differences between stains and sealers, application methods, and maintenance schedules for long-lasting protection.
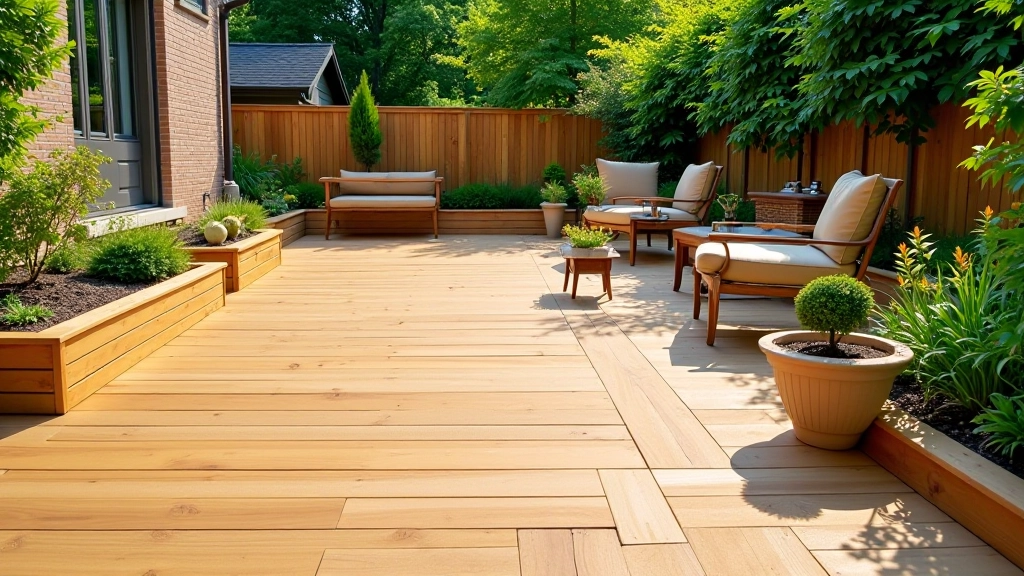
Your wooden deck faces constant exposure to sun, rain, and temperature swings. Without protection, the wood starts to fade, splinter, and eventually rot. It's that simple — you seal and stain, or you're looking at expensive repairs down the road.
The good news? You don't need professional help. Most homeowners can handle this project over a weekend with basic tools. We'll walk you through what you need to know to do it right.
These two products do different jobs, and honestly, most decks need both. A stain adds color and brings out the wood grain — it's the cosmetic part. A sealer protects against moisture, UV rays, and weathering. Think of stain as the paint job and sealer as the protective clear coat.
Solid stains hide the grain but provide better coverage. Semi-transparent stains let the wood texture show through. Clear sealers are invisible but won't change the deck's appearance. You'll find oil-based, water-based, and acrylic options — each has tradeoffs for drying time, durability, and ease of application.
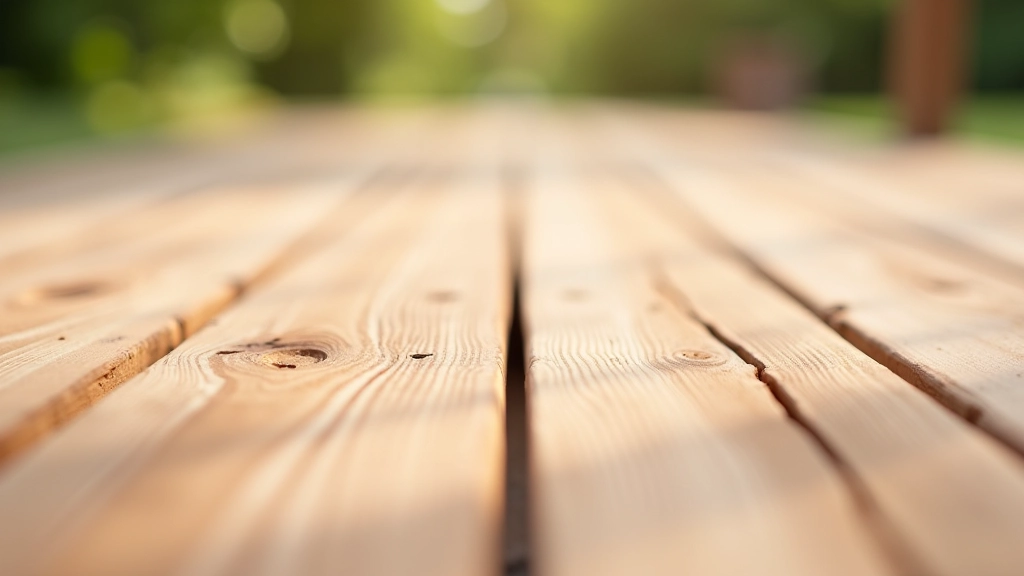

You can't skip this step. A dirty, damaged deck surface won't hold stain or sealer properly. Start by cleaning — pressure washing works well, but be careful not to damage the wood grain. If you're applying over old stain, you might need to strip it first, especially if it's peeling.
Look for soft spots that indicate rot. These areas need repair before finishing. Sand rough patches and splinters so you've got a smooth, even surface. Most decks need about 2-3 days of drying after cleaning before you can apply any finish.
Every deck is different. Wood type, climate conditions, and application technique all affect how long your finish lasts. Check weather forecasts before starting — rain within 48 hours of application can ruin your work. Always follow the product manufacturer's instructions for best results.
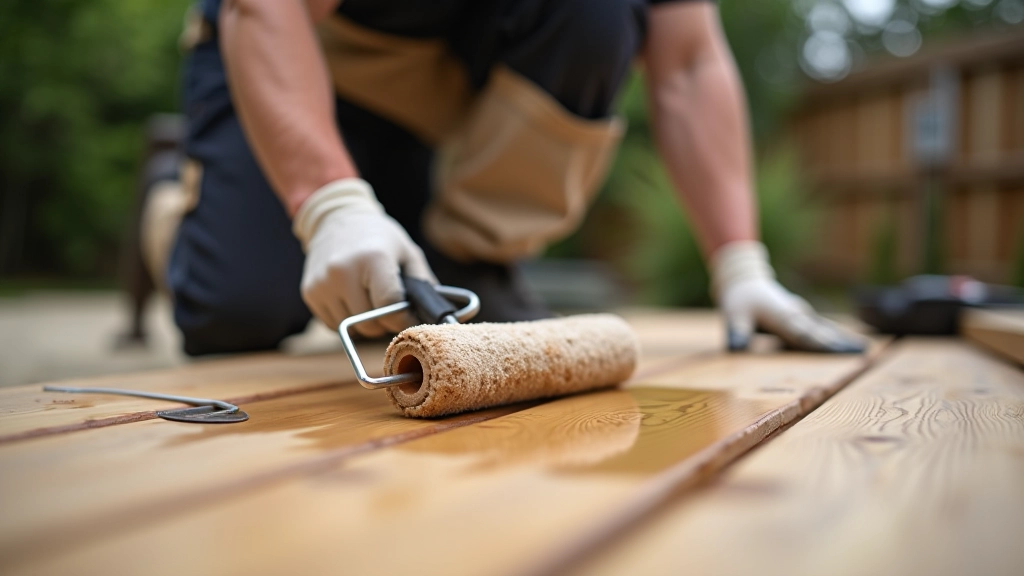
You've got three main options: brush, roller, or sprayer. Brushing gives you control and works well for detail areas and edges. A roller covers large flat surfaces quickly without over-applying. Sprayers are fastest but require more setup and cleanup, and you'll lose product to overspray.
Apply thin, even coats rather than one thick coat. Two coats is standard for most stains and sealers. Let each coat dry according to the manufacturer's timeline — usually 4-8 hours for water-based products, longer for oil-based. Don't rush. A deck done right lasts 2-3 years before needing refresh, but cutting corners means reapplying annually.
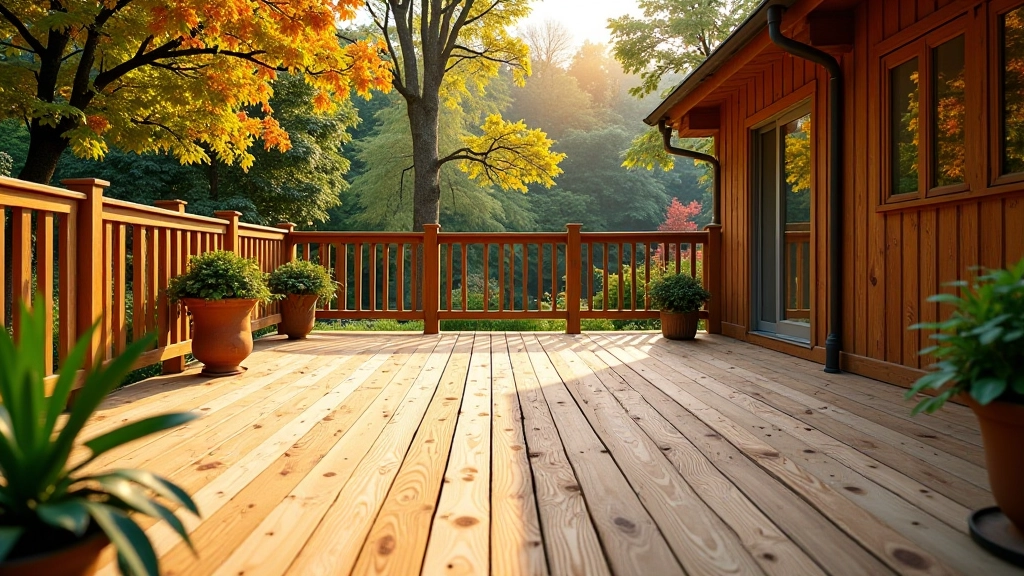
Once you've sealed and stained, you're not done. Regular maintenance extends the life of your finish dramatically. Every spring, sweep debris and hose down the deck to remove pollen and dirt. This simple step prevents mildew and keeps the finish looking fresh.
Watch for signs that resealing is needed. If water pools on the surface instead of beading up, the sealer's worn out. Fading color or a dull appearance means the UV protection is failing. Most decks need a fresh coat every 2-3 years depending on sun exposure and weather. In harsh climates with heavy rain and intense sun, you might refresh annually.
Sealing and staining aren't glamorous tasks, but they're essential. Spend a weekend now applying the right products, and you'll avoid thousands in repair costs later. You'll also get a deck that looks beautiful season after season.
The process is straightforward: understand your options, prepare thoroughly, apply carefully, and maintain regularly. Don't cut corners on preparation — that's where most people fail. Get the surface right, and the stain and sealer will do their job for years.
Ready to tackle your deck? Gather your materials, check the weather forecast, and get started. Your outdoor space will thank you.

Author
Editorial Team
Written by the drexoholm Editorial Team, focused on practical, transparent guidance for DIY wooden deck building.
Learn the differences between pressure-treated, cedar, and composite materials. We cover durability, cost, and appearance for every budget.
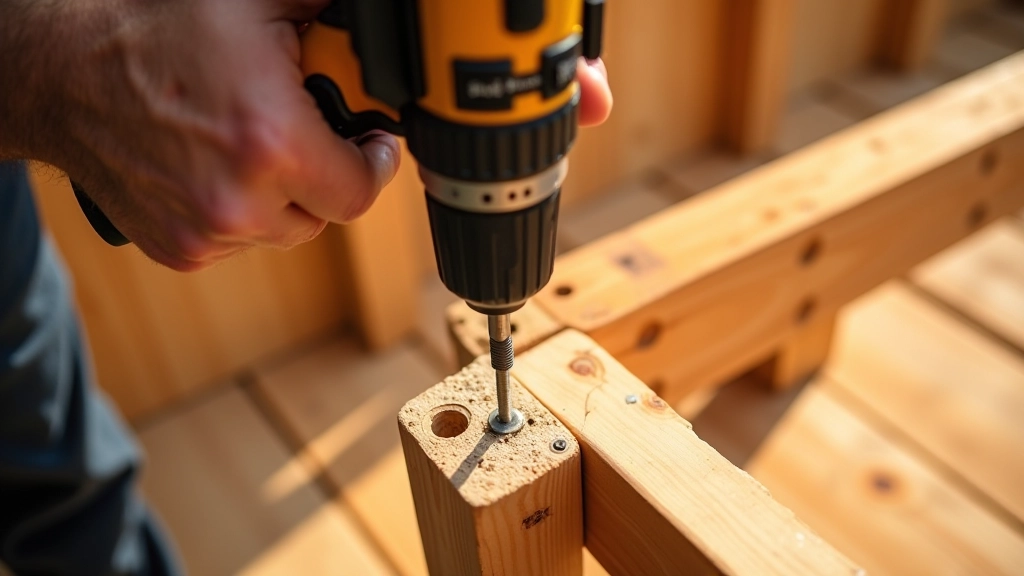
From foundation to finishing touches. We cover framing, joist spacing, fastening methods, and safety checks for solid construction.
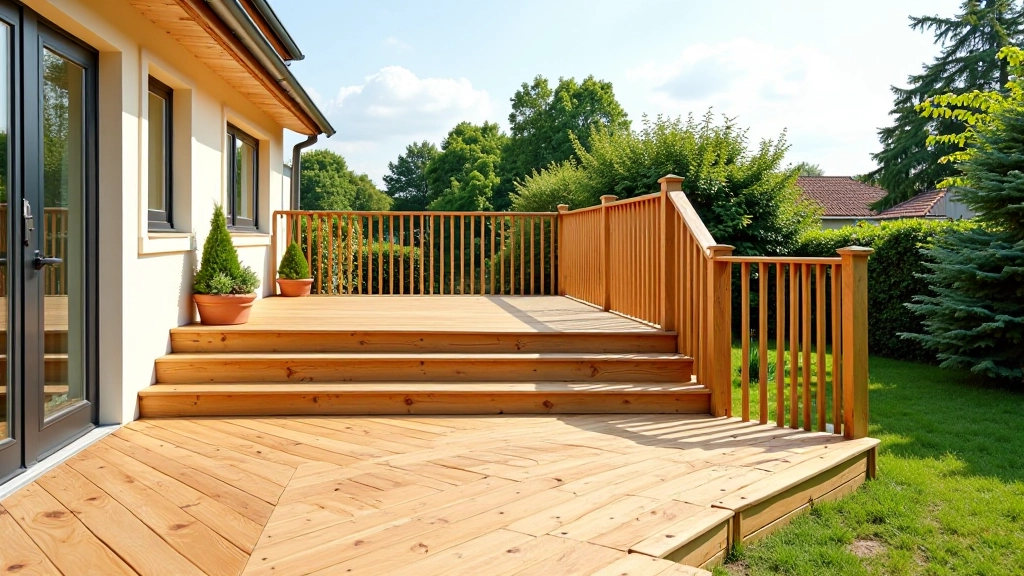
Plan your deck layout with purpose. We cover safety codes for railings and stairs, plus design inspiration for different yard sizes.